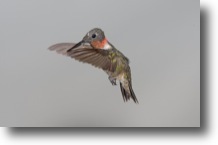
| CLICK ANY THUMBNAIL TO ZOOM zoomed version displays the camera settings at the bottom |
|||
 |
 |
 |
 |
 |
 |
 |
 |
 |
 |
 |
 |
 composite - see below |
 |
 |
 |
 |
 |
 |
 |
 |
 |
 |
 |
 |
 |
 |
 |
|
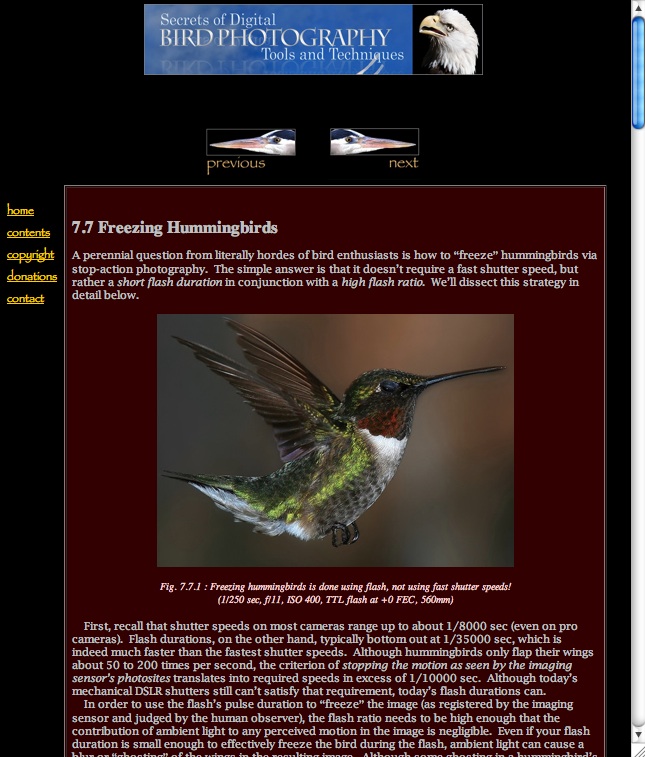
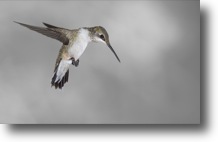
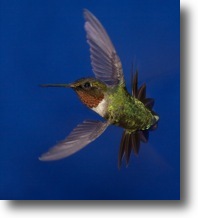
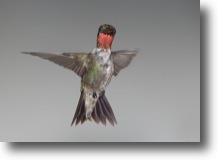
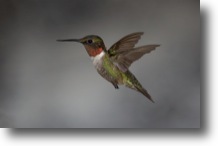
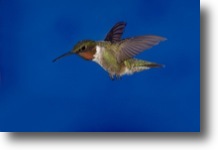
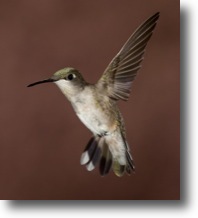
How Did I Get These Photos? Hummingbird
photography can be truly frustrating, especially for beginners.
Due to their diminutive size and formidable speed, the challenge of
capturing sharp images of these speed demons often seems
impossible. However, there are a number of things you
can do to elevate your chances of getting good flight shots of the
birds, as I’ll describe very briefly below.
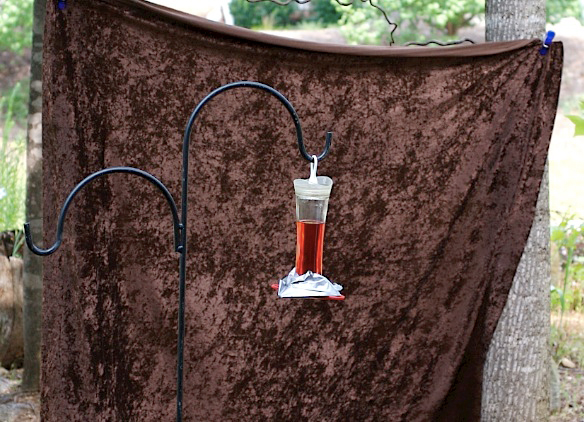
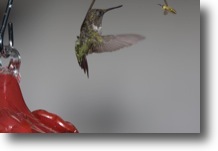
First, you need to attract the birds. I use a hummingbird feeder with all but one of the feeding ports taped shut with duct tape (see below). This way, I can control the angle of the bird when it’s coming in for food. (Otherwise, I end up getting too many “throw away” shots of the bird from behind.) I also prefer feeders without a vertical nectar tank (unlike the one shown below), because the tank sometimes obscures the bird. As you can see below, I also hang a large sheet of fabric behind the feeder, to block direct sunlight and add some texture (and potentially color) to the background: |
|
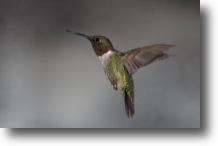
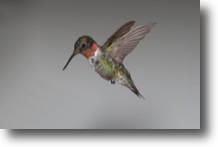
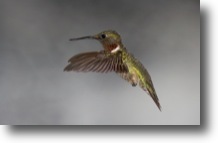
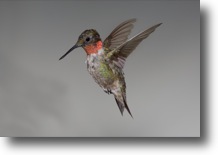
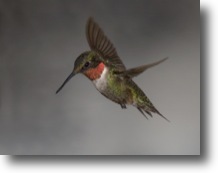
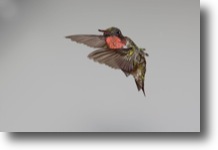
Control of ambient
light (direct or indirect sunlight) is essential if you want to
freeze
the bird’s wings. The trick isn’t to use a fast shutter speed (indeed, note that
some of the photos above were shot as slow as 1/50 sec), but rather to
use a high flash ratio
coupled with a very short flash
duration (these concepts are defined in my free book, if you’re
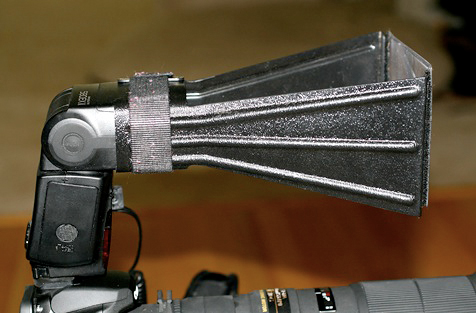
not familiar with them). Many
photographers employ multiple flash units for this purpose (typically
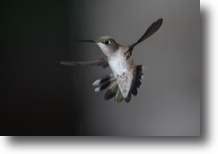
four or five, each costing $400 or more). I find that
using a $30 fresnel extender
(see below) can often give me enough flash
power at short durations to just about freeze the wings, even with only
a single flash unit. Personally, I don’t care if the
wings are completely frozen, so this solution is good enough for me
(and note that a small amount of motion
blur in the wings can in fact be beneficial, in that it conveys
to the viewer some impression of wing dynamics).
A fresnel extender, such as the Better Beamer, is cheap and easy to use. You can also build your own, as I describe in my free, online bird photography textbook. |
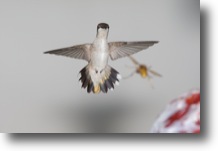
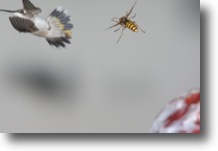
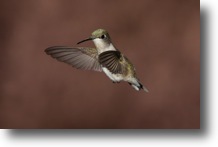
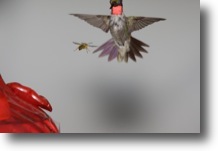
| Actually
photographing
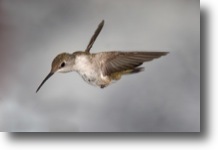
the birds is only one part of the process. It also takes many
hours to sift through the thousands of images and pull out the 1% that
actually show the bird in an interesting pose. Most images will
merely show the bird making a direct approach to the feeder, and most
of these will look more or less identical and, therefore, after a while
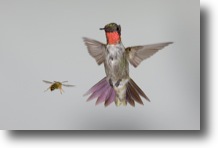
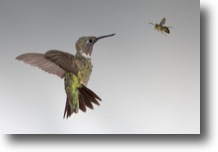
quite boring. Interactions between the birds, or between
birds and bees, are the primary generators of novel poses; this is why
I don’t
discourage bees from coming to my feeders. Limiting the number of
feeding ports also favors interactions between the birds. Once you’ve pulled out the few images that feature a bird in an interesting pose, you’ll then want to discard those that aren’t perfectly in focus, that show the feeder in frame, or that simply don’t make for a good “composition” (in terms of where the bird sits within the overall frame, and which direction it’s facing). In some cases you can fix minor problems by editing the photo in Photoshop. I often “edit out” the feeder (via the clone tool in Photoshop) or move the bird to another part of the frame (possibly after replacing the background via a new image layer). In the case of the many spontaneous interactions with bees, I often find that the bird is in focus but the bee is not (or vice versa), or that part of the bird has been clipped by the edge of the frame. In these cases I’ll sometimes enlarge the “canvas” and/or replace the bird or bee with part of another image to reconstruct the event in simulo. These images are not strictly “photographs” per se, but rather artistic renderings of an event that, unfortunately, wasn’t perfectly captured by the camera. But since my goal is primarily to produce artistic and evocative renderings of birds, I have no problem with this. |
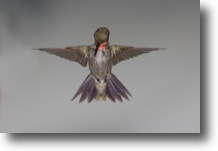
| ORIGINAL | COMPOSITE |
 |
|
 |
 |
 |
 |
|
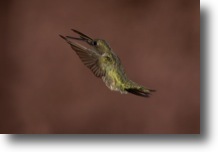
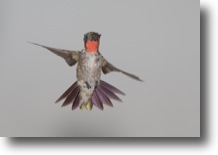
Below are a few more
examples of interactions that I simply couldn’t capture perfectly at
the time, due to their brief duration and/or the limitations of
technology:
|
|
Many more hints on
hummingbird photography, and on bird photograph in general, can be
found in my free online textbook, Secrets
of Digital Bird Photography. Below is the link to the
chapter on hummingbird photography (click the image):
|